Setting up Nordic’s Power Profiler Kit II (Linux)

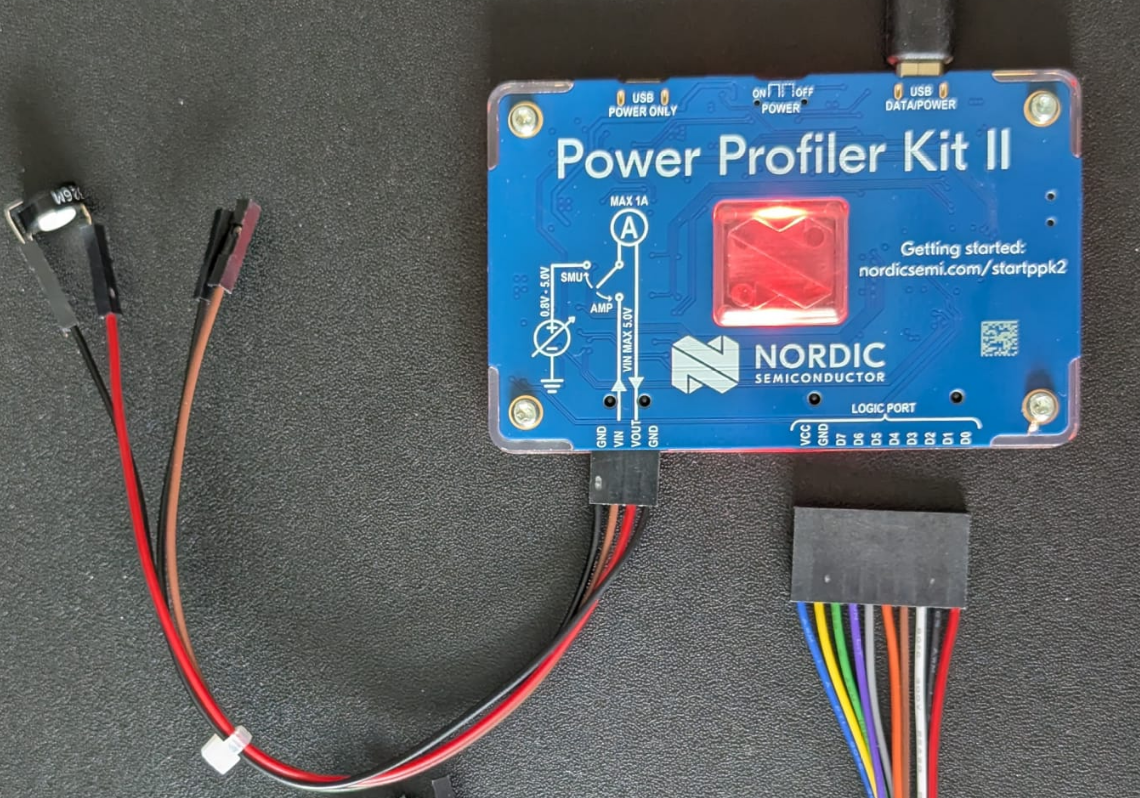
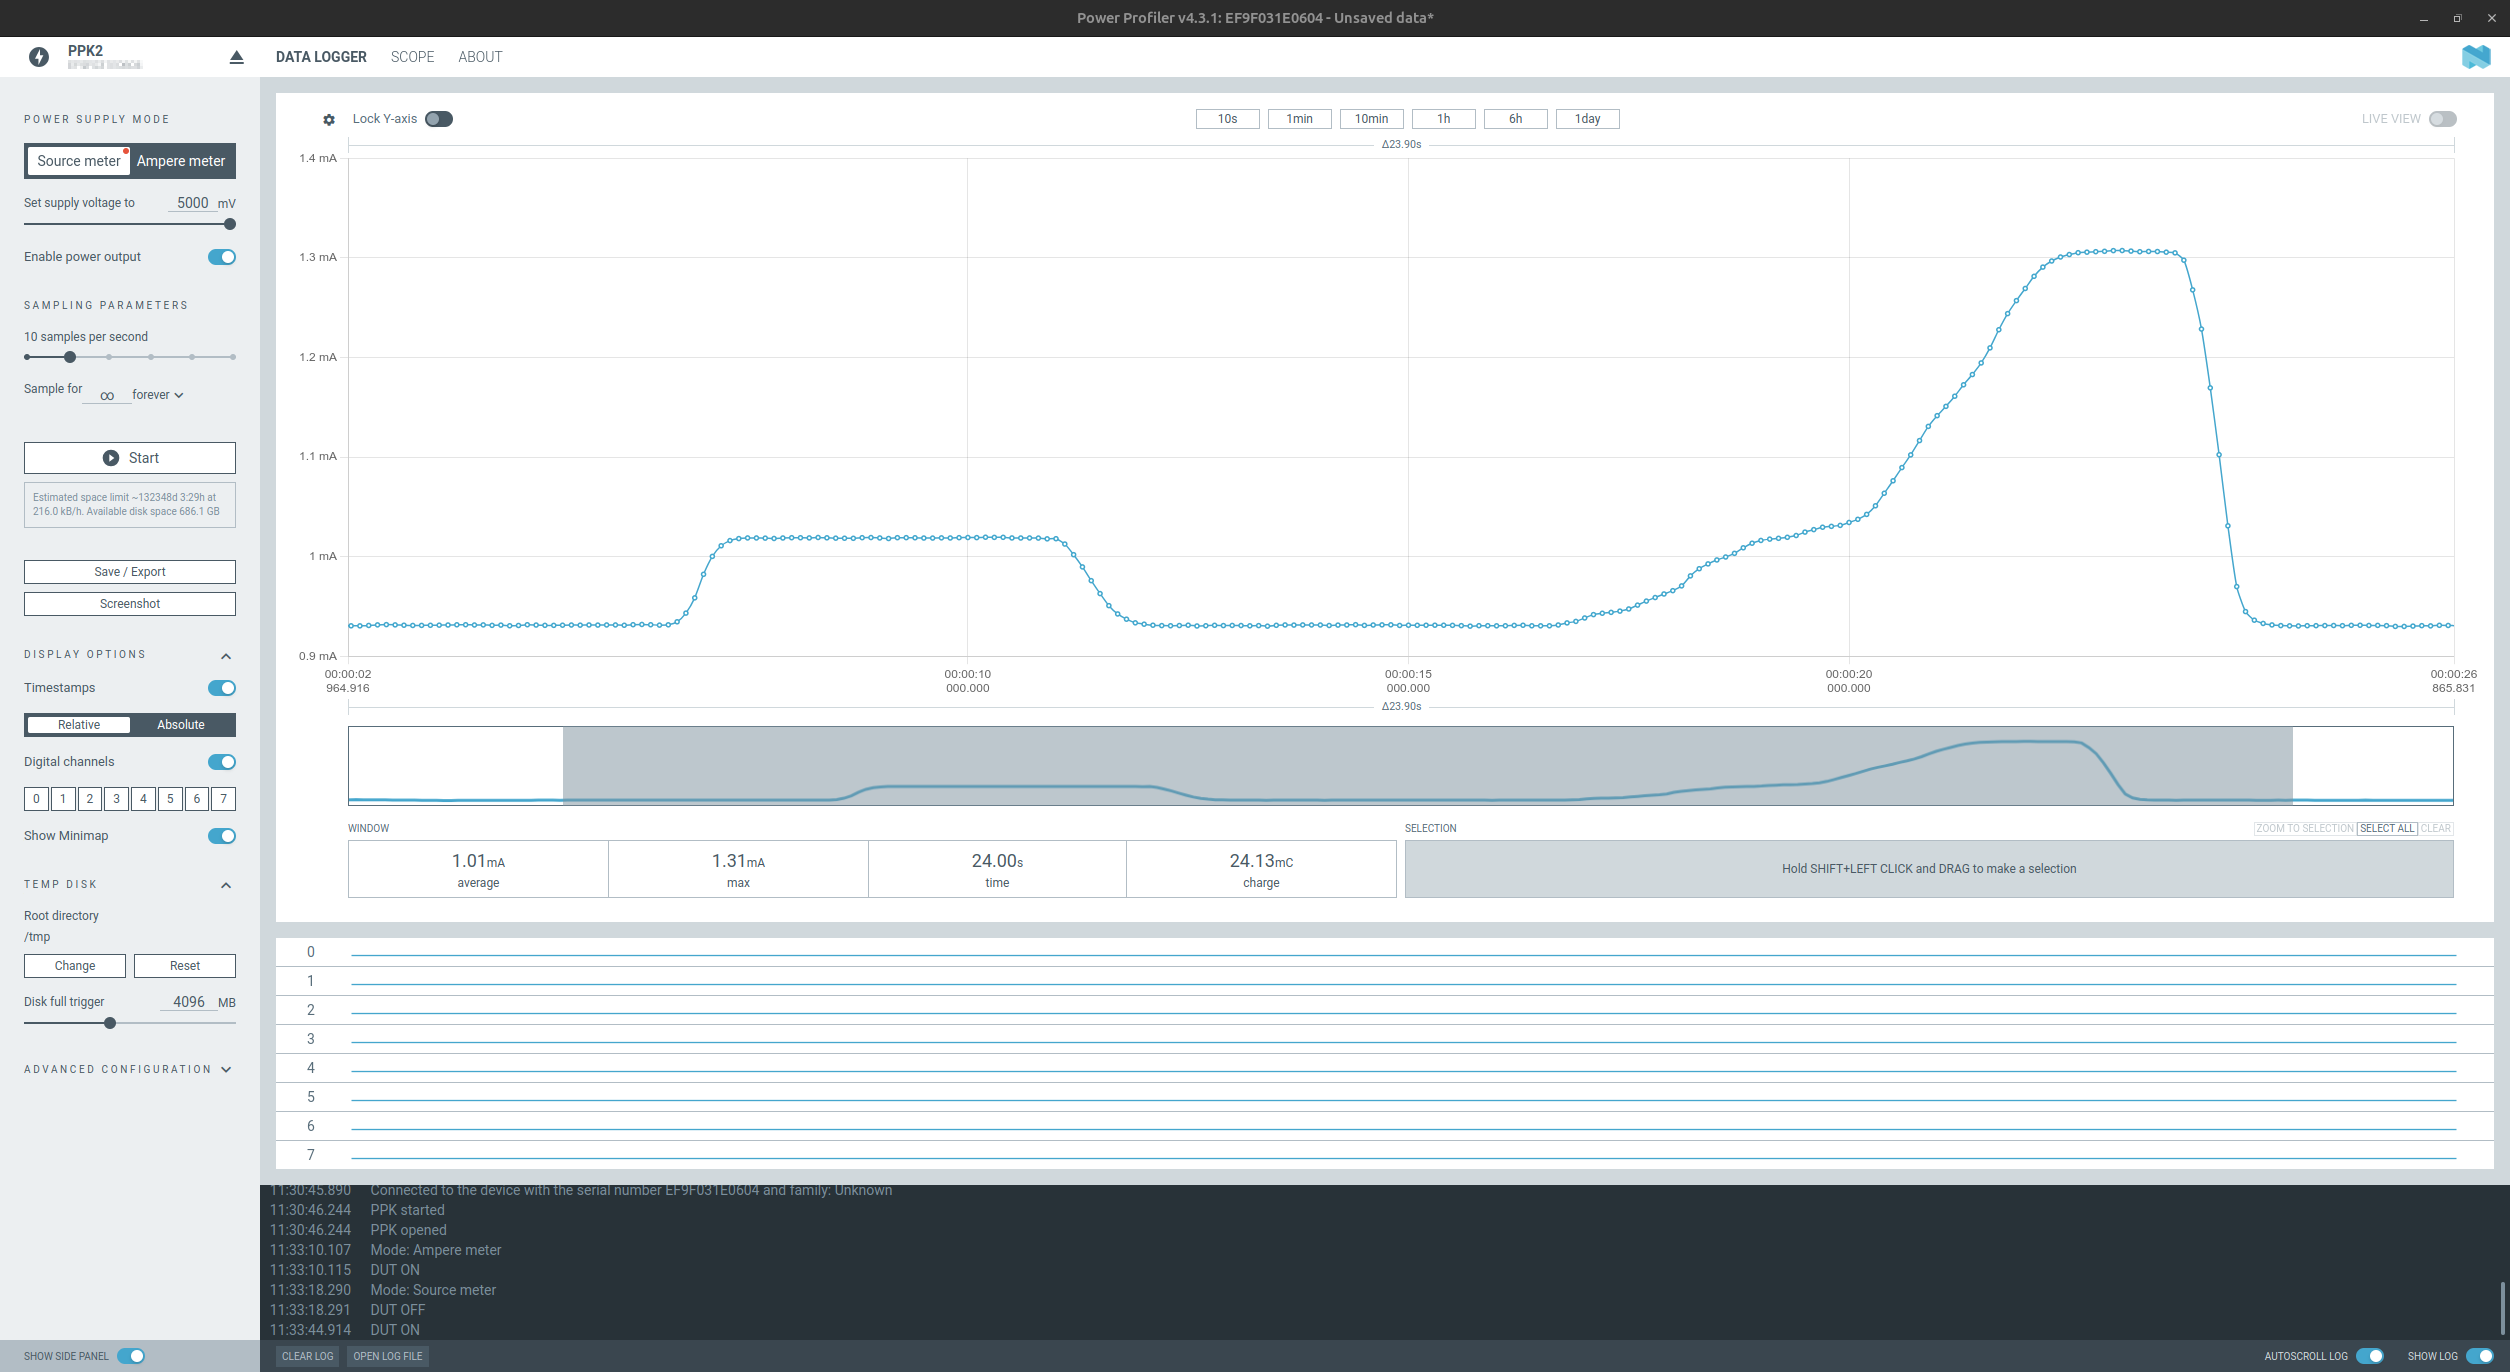
For some of the next TōGō-Lab projects I’m thinking about, I want some gear that lets me look properly into the very low-power usage of my builds instead of just guessing. Besides some more expensive gear like the Joulescope, I finally bought Nordic’s Power Profiler Kit II, which looked like a very good fit for the kind of measurements I want to do. Nordic positions the PPK2 as a standalone power-measurement and power-optimization tool for embedded hardware, with support for real-time current measurements and use with both Nordic boards and external hardware.

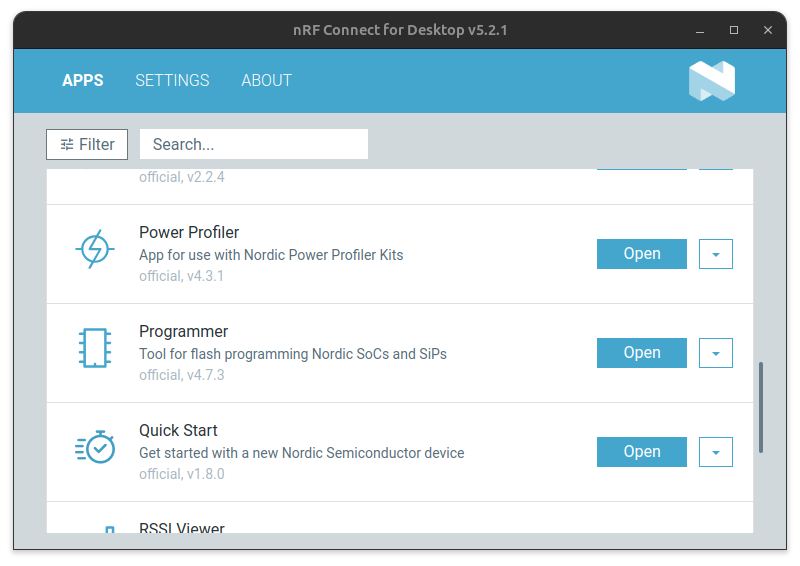
As typical for some lab gear, it runs nicely under Windows, in my case in a virtual Win10 setup. But I wanted it on my actual Linux workbench machine, where the rest of the lab IT frontend for my tools lives. That part was a bit more difficult than expected. Nordic gives you an AppImage, but it is a little bit tricky to get it running.

Because the blog will malformat the command lines find the installation lab notes as markdown file in my Gitea as project #0006:
https://gitea.togo-lab.io/tgohle/0006-Setting_up_Nordic_PowerProfilerKitII_Linux

For the official side, Nordic’s product page for the kit is here, the official PPK2 setup documentation is here, and the official nRF Connect for Desktop installation documentation is linked here.


Nordic Power Profiler Kit II Test Setup
nRF Connect for Desktop v5.2.1

Test Measurement:

nRF Connect Power Profiler App, working Measurement

Old meter (MXD-4660A), new tricks.

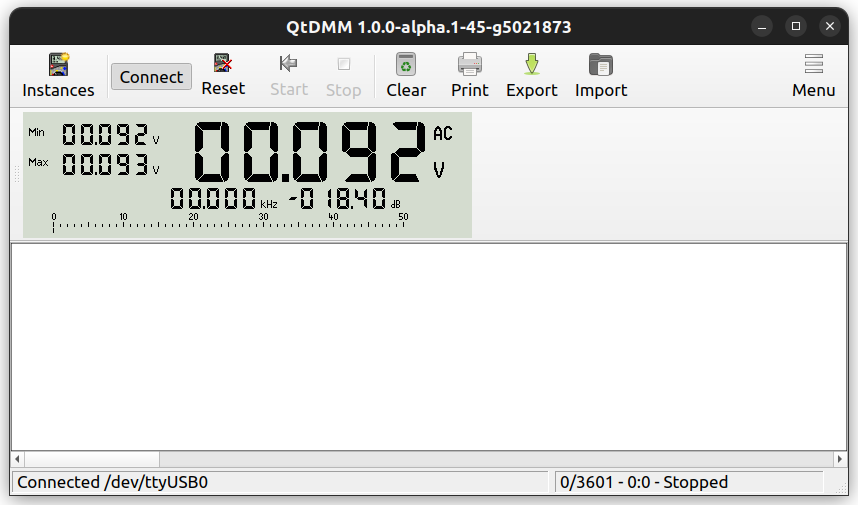
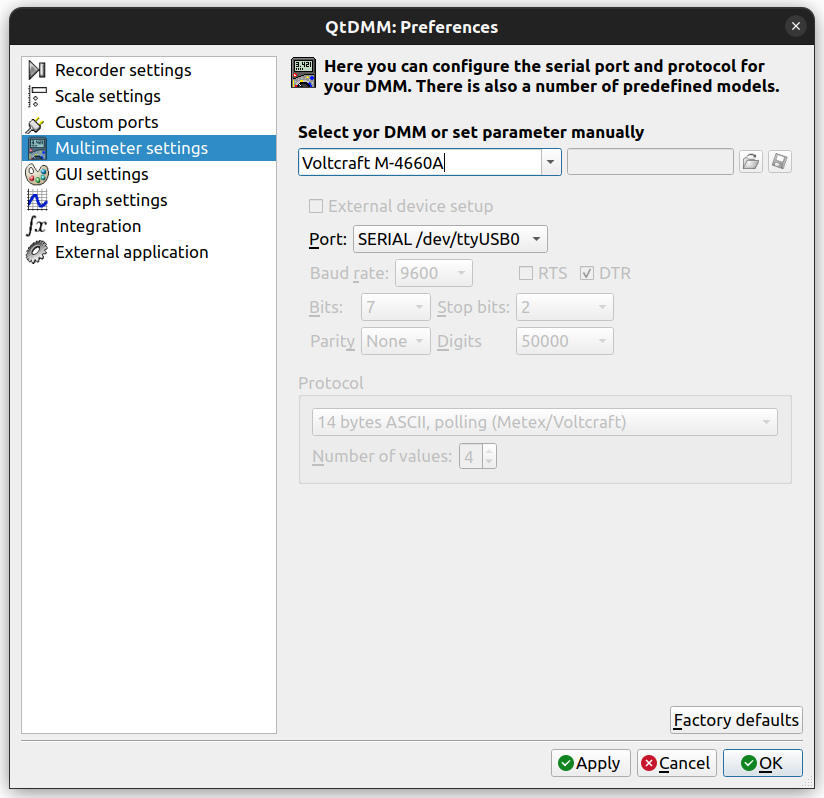
I pulled my veteran DMM, a Voltcraft MXD-4660A, from the drawer to set up my workbench (adding a serial-to-USB converter) and gave it a second tour of duty with QtDMM on Ubuntu. After a bit of searching online what to use under I found the QtDMM project at http://www.mtoussaint.de/qtdmm.htmlm , but appears abandoned. The active fork, I think, is at https://github.com/tuxmaster/QtDMM.

Here’s the final install and setup for my lab computer running Ubuntu 22.04 (Jammy):


Build & Install QtDMM on Ubuntu 22.04 (Jammy)


1) Prerequisites

  • Enable Universe and base tools:

    sudo apt update
    sudo apt install -y software-properties-common
    sudo add-apt-repository -y universe
    sudo apt update
  • Compilers, build tools, VCS:

    sudo apt install -y git build-essential cmake ninja-build pkg-config
  • Qt6 SDK

    sudo apt install -y qt6-base-dev qt6-tools-dev qt6-tools-dev-tools qt6-l10n-tools libqt6serialport6-dev
  • HID API

    sudo apt install -y libhidapi-dev libhidapi-hidraw0
  • OpenGL headers for Qt6Gui/Widgets

    sudo apt install -y libopengl-dev libgl1-mesa-dev libglu1-mesa-dev mesa-common-dev
  • Serial access without sudo:

    sudo usermod -aG dialout "$USER"
  • Log out and back in to apply group membership

2) Get the source and make the script executable

git clone https://github.com/tuxmaster/QtDMM.git
cd QtDMM
chmod +x compile.sh

3) Build

  • Clean build (optional). Also verifies prerequisites are present.
    ./compile.sh clean || true
    rm -rf build CMakeCache.txt CMakeFiles
    ./compile.sh
  • Artifacts land in ./bin/:
    ./bin/qtdmm --version
  • Verify it runs. If not, see Troubleshooting below

4) Install for all users (see §5 for a .deboption)

Preferred:

sudo ./compile.sh install
# now on PATH:
qtdmm --version

5) Alternative: make a .deb

Keeps your system clean and is easy to remove later.

./compile.sh pack
sudo apt install ./QtDMM_*amd64.deb

6) Uninstall

If installed via .deb:

sudo apt remove qtdmm

If installed via compile.sh install:

# run from the same build dir used for the install
sudo xargs rm < build/install_manifest.txt

Troubleshooting:

If you hit errors, try a clean build reset instead of first searching forums. I learned the hard way to make a clean install as a belt-and-suspenders reset, that deletes built objects but keeps the CMake cache.

  • “|| true” lets the sequence continue even if the clean step fails due to a broken config.
  • “rm -rf build CMakeCache.txt CMakeFiles” force-removes any stale out-of-source build dir and any accidental in-source CMake cache:
  • “Final ./compile.sh” does a fresh configure and build:
cd ~/QtDMM
./compile.sh clean || true
rm -rf build CMakeCache.txt CMakeFiles
./compile.sh

Let’s check if it’s running

  • As your regular user, start QtDMM from the command line or via the Ubuntu Dock (search for “QtDMM”):
  • Hint: How to create a Desktop shortcut launcher for ubuntu 22.04
    QtDMM - Running

  • Configure settings for MXD-4660A:
    Setup Voltcraft MXD-4660A

    Final test setup (send a known signal) and the result: MXD getting some imput from generator to prove reading
    QtDMM running, getting Data


Question to readers: Is there Linux software for the old Hameg HM1507-3? I’m currently using a Windows XP VM with very old software.